Hello guys, Have you ever thought of publishing your React application online for free, where you can share the link, which will be accessible from anywhere in the world. And you can also test your React application on a live server, which is absolutely free.
First step for using Netlify
In the beginning, you must be registered to use Netlify's services. You can also use your GitHub authentication for easy registration. You can also click here to go directly to Netlify's website.

How to easily create a React Application build version.
To deploy a React application on Netlify, you must first create a build version of your React application. It's a piece of cake. You only execute the below command in the terminal command prompt (where you start your React application using npm start).
For NPM
npm run buildFor YARN
yarn buildAfter executing the command, it will take a few minutes depending on your computer's speed. And after completion of processing, you will get to see a build folder in your root directory of the React Application.
How to Publish your React Application on Netlify using Build version?
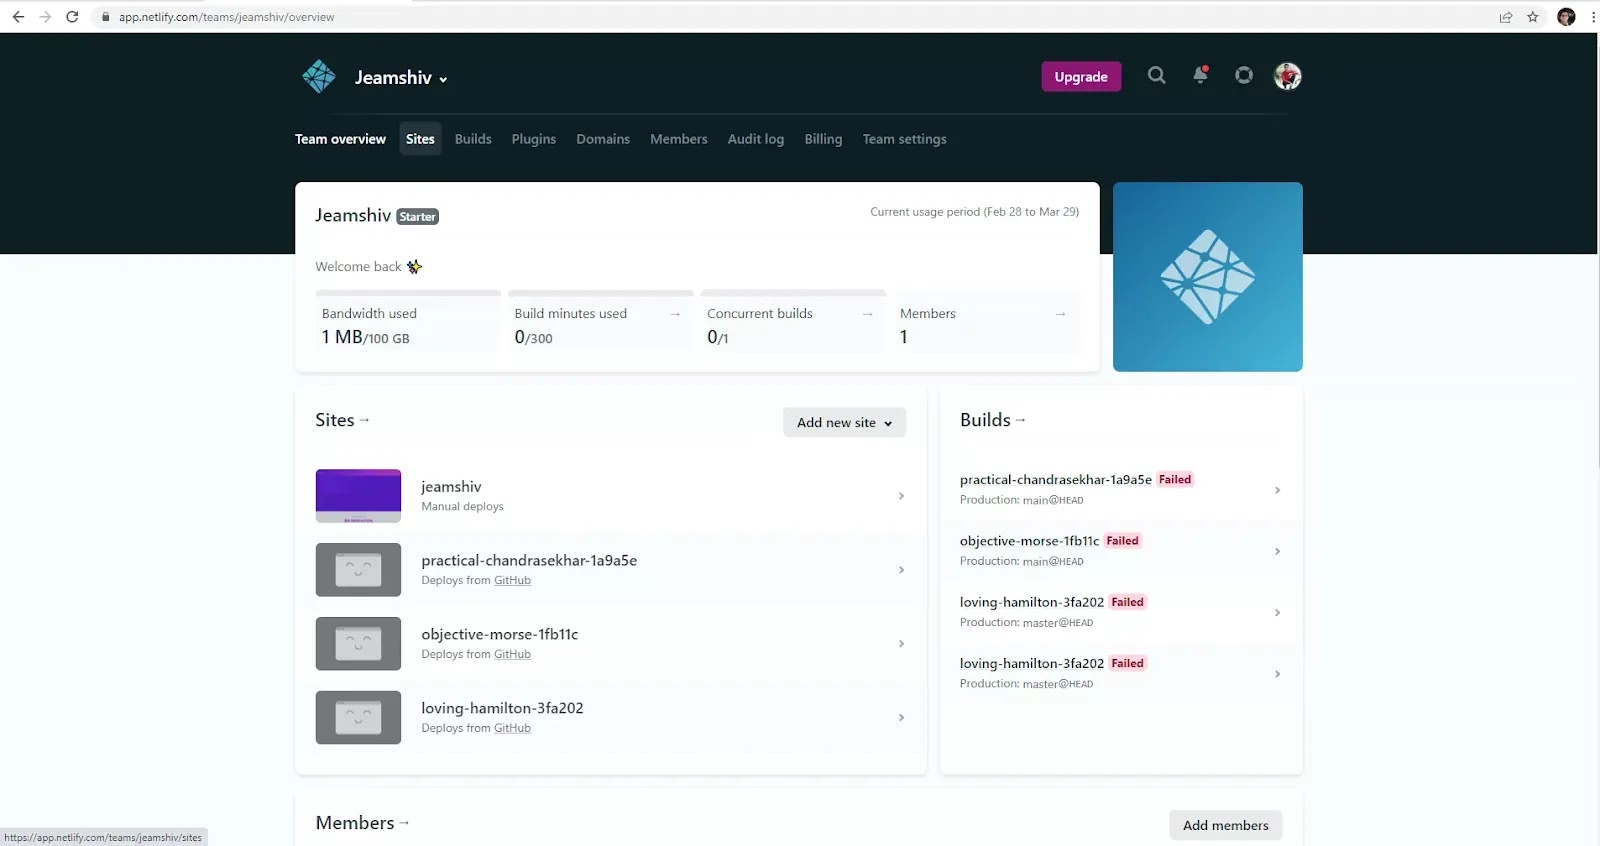
Now you need to open the Netlify dashboard. Where you will find few options in the menu.
Click on the Site nav link, and you only need to drag and drop your build folder here. Where it is written: Want to deploy a new site without connecting to Git?

Drag and drop your site's output folder here. After dropping your build folder, it will be processed. And Netlify will provide you with a site link. If you click on that link, you can see your React application running on Netlify's server. But the site name will be harder to remember for you. The site's name will be a long, randomly generated username and text. You can also customize the site name easily.
Easily change site name in Netlify so site name can be remembered easily.
On Netlify's dashboard, you can see the Sites section, or you can click on the Sites link. After that, you can see a thumbnail of your React application. Click on that. Now you can see a button named "Site settings." After clicking on that button, you will see Site Information, and under the site information section, you can see a button named Change site name. When you click on that, a popup modal will be visible where you can type your preferred site name. Here it's done!

Why should you use Netlify to deploy React applications.
- It's easy to use and deploy React applications.
- You can upload to multiple sites for free.
- Netlify has a better site response than the others.
This is the easiest way for deploying your React application on Netlify. I hope you liked this article and it was helpful for you.


