Hello Guys, If you haven't hosted a website on Netlify yet, read this blog. Deploy your first website on Netlify.
First of all, you have to log in to Netlify if you already have an account; otherwise, sign up. After logging in, you will be redirected to the Netlify dashboard.
After that, you have to click on the Sites link as mentioned in the below picture.

As soon as you click on the Sites link, you will see a button to add a new site. Inside that you will see three options Import an existing project, Start from a template and Deploy manually.

Import an existing project in Netlify
It means that Netlify will ask you to connect your project with a git repository (Github, Gitlab, or Bitbucket) for auto-deployment on Netlify.
Start from a template in Netlify
Netlify already has some ready-made templates lying around, even using them, you can create and host a good website on Netlify.
Deploy manually in Netlify
This option is used a lot and I have also written about this in the prevous blog, you can read it. In this you do not even need to connect to any git provider. You can also use Want to deploy a new site without connecting to Git? Drag and drop your site output folder here.
Deploy website with Git Repository on Netlify
Now we are going to select the first option which is Import an eixisting project.
After clicking on import an existing project you will see a new page connect to the git provider page

After that, click on any Git provider and pick a repository from GitHub, Gitlab, or Bitbucket.
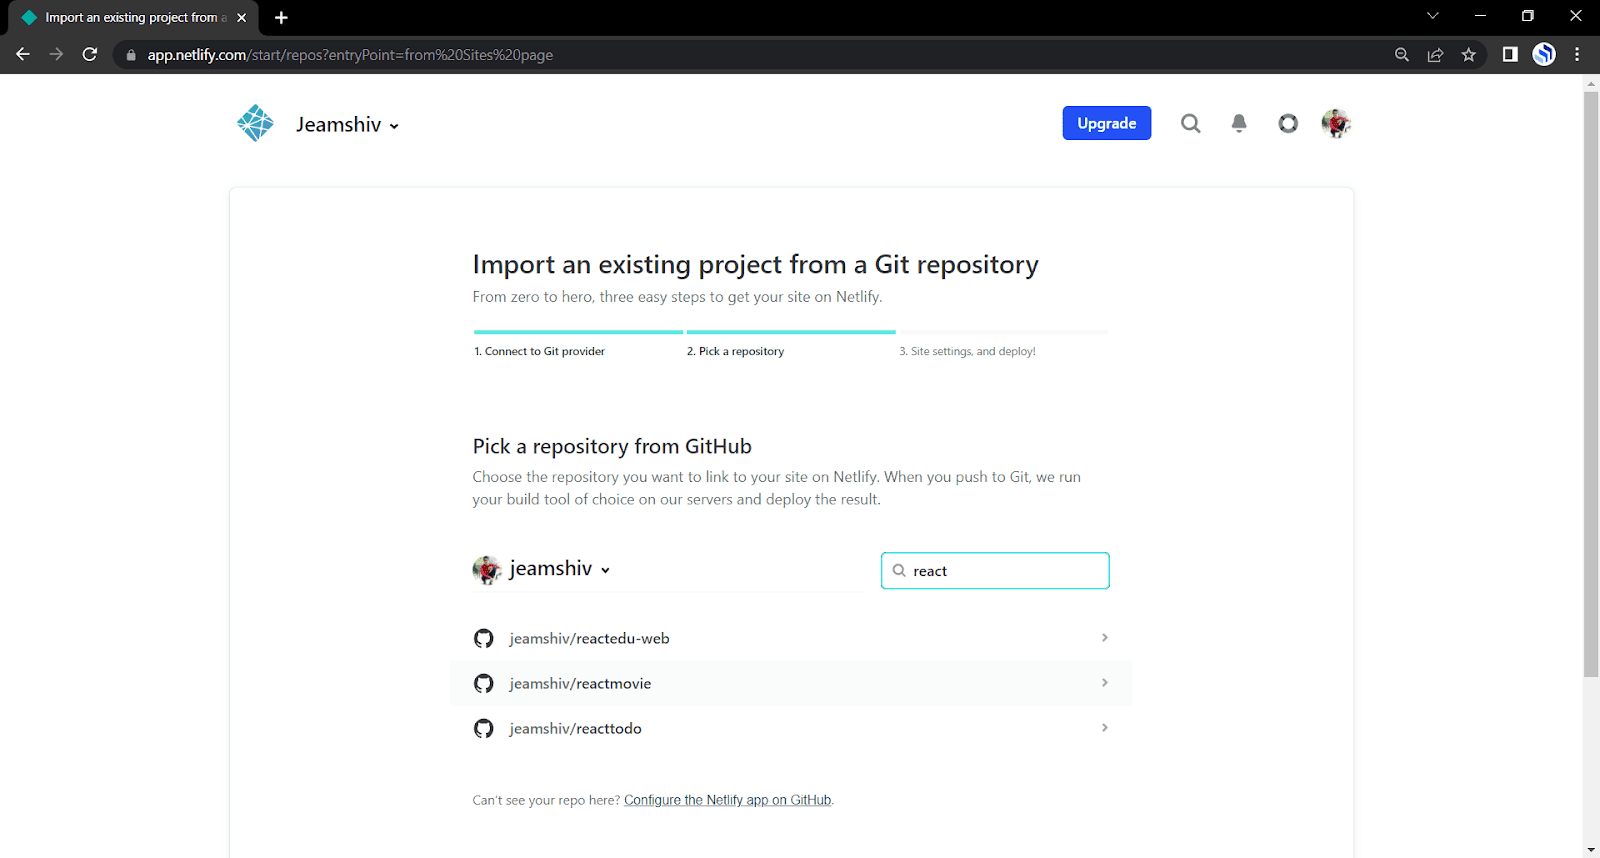
As you can see there are three steps to deploy projects through git repositories.
- Connect to Git Provider
- Pick a repository
- Site settings, and deploy!
As soon as you connect to the git provider, you will get on the second step where you will see the option to select the git repository as in the below image.
After selecting the git repository, you will reach on the third step where we have to select the branch name from which the website will be deployed. And let everything else remain as it is. And click on the Deploy site button. It will take few seconds to process your request.
Connecting Git Repository on the existing Netlify project.
Do you know that you can connect your website with Git provider any time. It doesn't matter whether your project is already deployed on Netlify or not.
For that, first you have to click on the Sites link. And select your project from the sites list. Under deploys pages, you will see a button Deploy Settings click on that. You will be redirected to the Site settings page.

Click on the Link repository button will follow the three steps for Deploy Project with Git Repository which were already explained in the above.
If you have already linked your project with git provider you will see Manage repository button here. By clicking it you will see two options Link to a different repository and Unlink your_gitUser/git_repo
When you click on Link repository or Link to a different repository, then you have to follow the same steps which is mentioned earlier to link to git provider.


